Back with another review + tutorial this month!

I will be doing a make-up tutorial once a month to spice up my blog a little  ~
~
 ~
~
I chose as subject "Pink Barbie Doll" for this tutorial, since it's fun to
experiment with pastel colors ~
~
 ~
~
It's a 13 step process, that is done very easily!

also the lenses that i'll be showing are the;
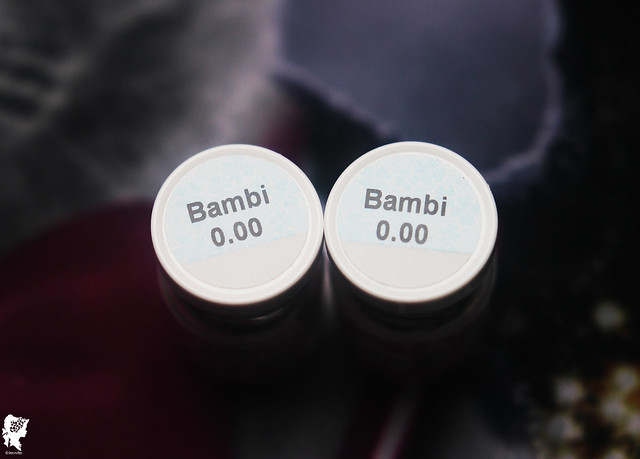
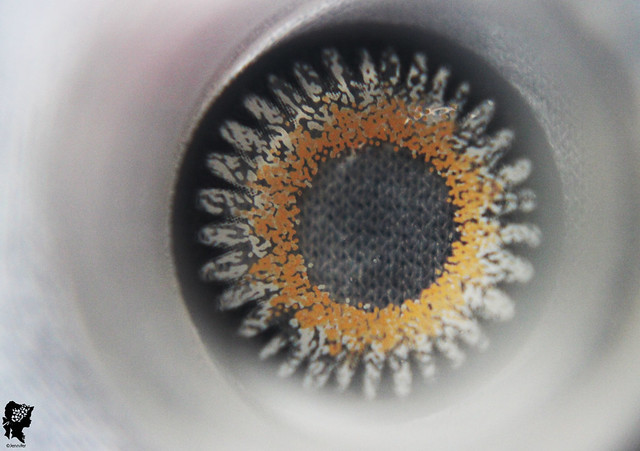
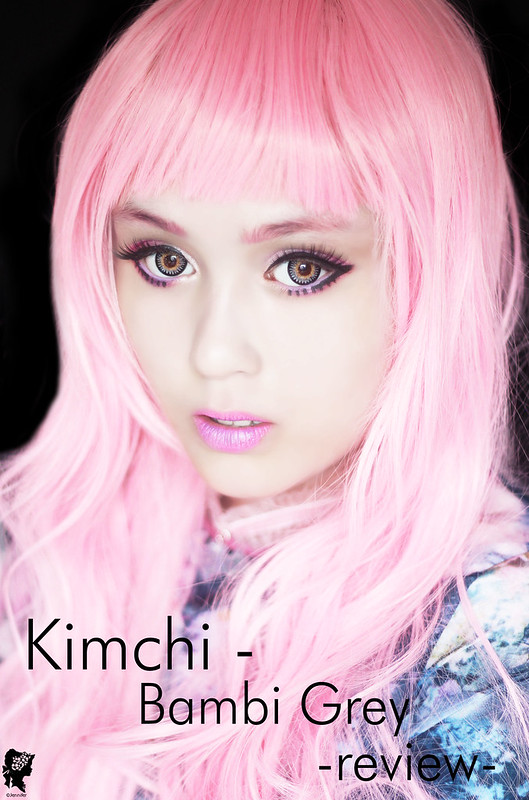
Kimchi - Bambi Grey pair ~
And these are sponsored by the lovely Uniqso!
(Circle lenses are essential for Doll Makeup since they make your eyes appear bigger and illuminate them. Human Barbie & Gyarus therefore sport big eye circle lenses for transformation.)

(Circle lenses are essential for Doll Makeup since they make your eyes appear bigger and illuminate them. Human Barbie & Gyarus therefore sport big eye circle lenses for transformation.)
I hope you like it! Let me know what you think 


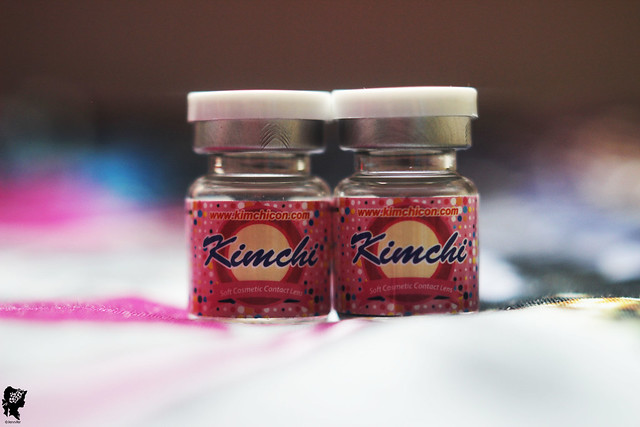
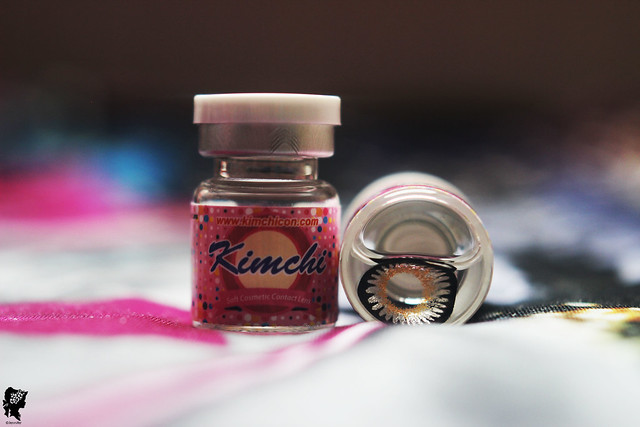
I.Fairy - Moe Moe Grey~
Info:
♥ Brand: Kimchi ♥
♥ Origin: South Korea ♥
♥ Water content: 55% ♥
♥ Diameter: 16mm ♥
♥ Base curve: 8.6mm ♥
♥ Duration: 1 year disposable ♥
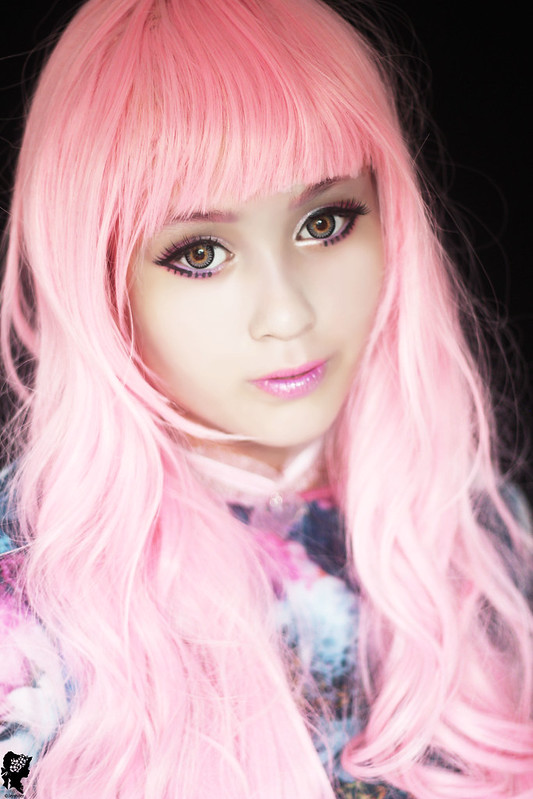
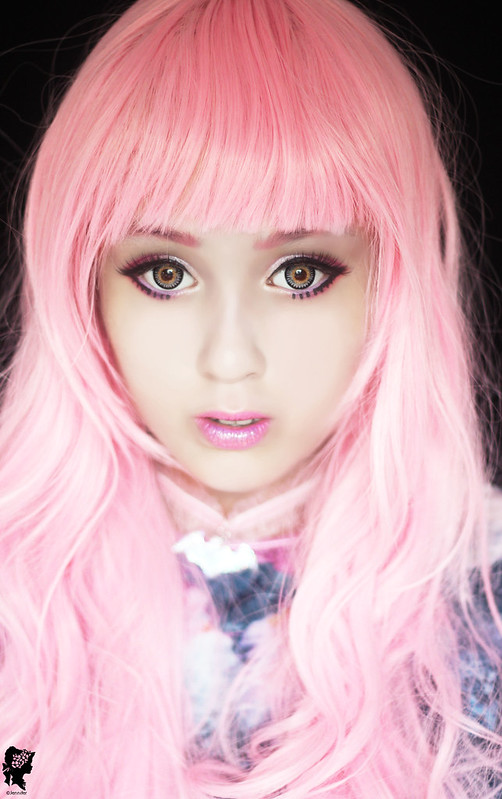

Day light

With flash

With and without lenses.
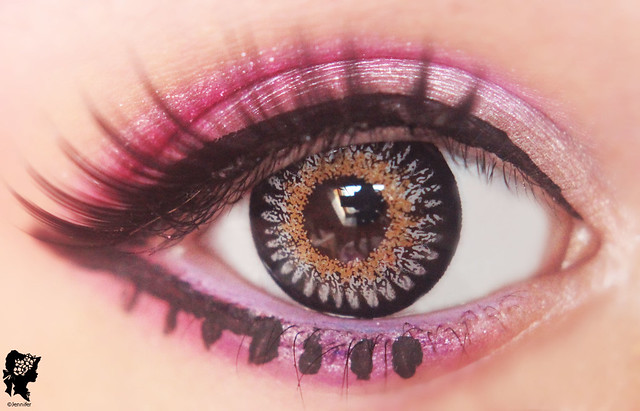
Colour and design: ♥♥♥♥♥ [♥♥♥♥♥]
A very beautiful design that looks really vibrant on dark eyes!

I really like the pattern as well, since it really makes my eyes pop.

Comfort: ♥♥♥[♥♥♥♥♥]
Had to use my eyedrops pretty often, but other then that i can wear them for a good 4 hours .
.
 .
.
Enlargement: ♥♥♥♥♥ [♥♥♥♥♥]
Very big enlargement! I feel like a porcelain doll when wearing them.

Very pretty and dolly looking lenses that can make your eyes look cute and sexy
 ~
~ Want them? get them HERE!


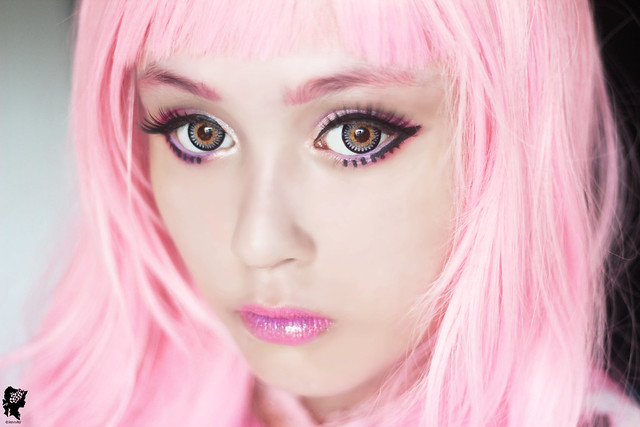


And straight off to my make-up tutorial!~
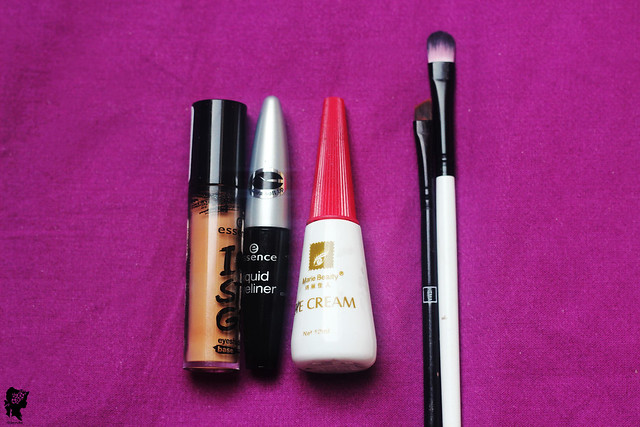
What i used here was:
-eye primer (from Essence)
-liquid eyeliner (from Essence)
-eyelash glue
-1 small angled eyeshadow brush
-eye shader brush
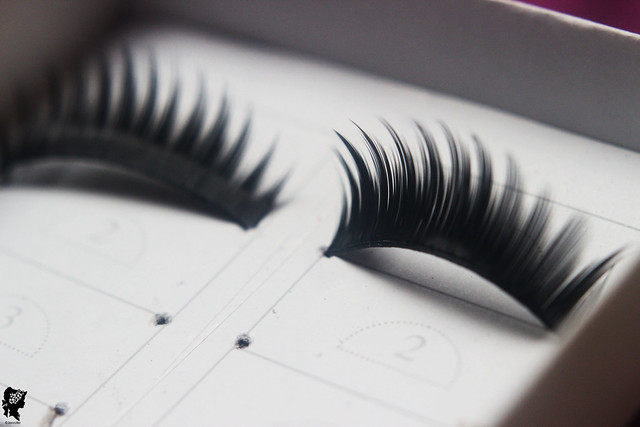
-false lashes
-white eyeliner pencil
(and pink matte lipgloss, wich was not included in the picture)

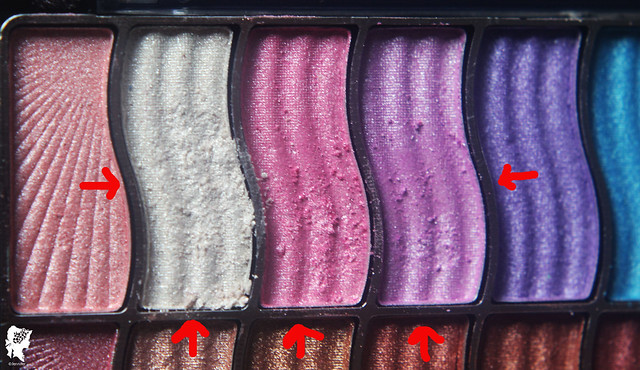
Choose the white, pink and purple eyeshadow ^
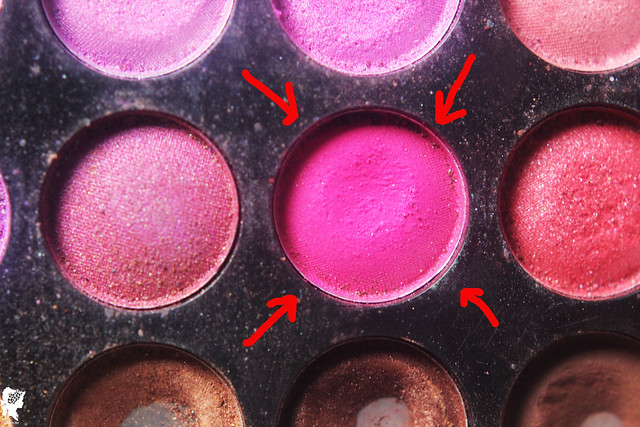
dark pink eyeshadow ^
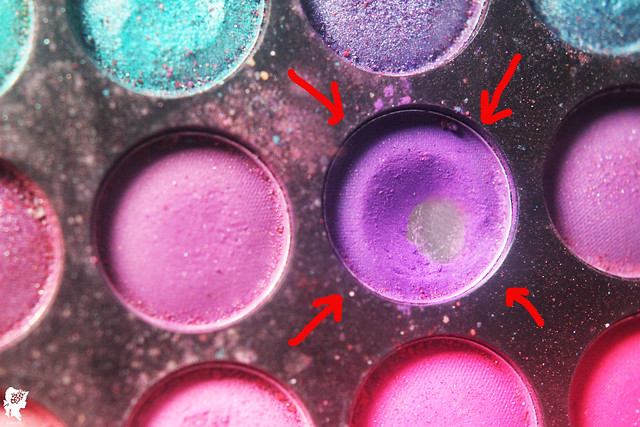
and last but not least, dark purple eyeshadow ^
(excuse me for the mess..
 )
)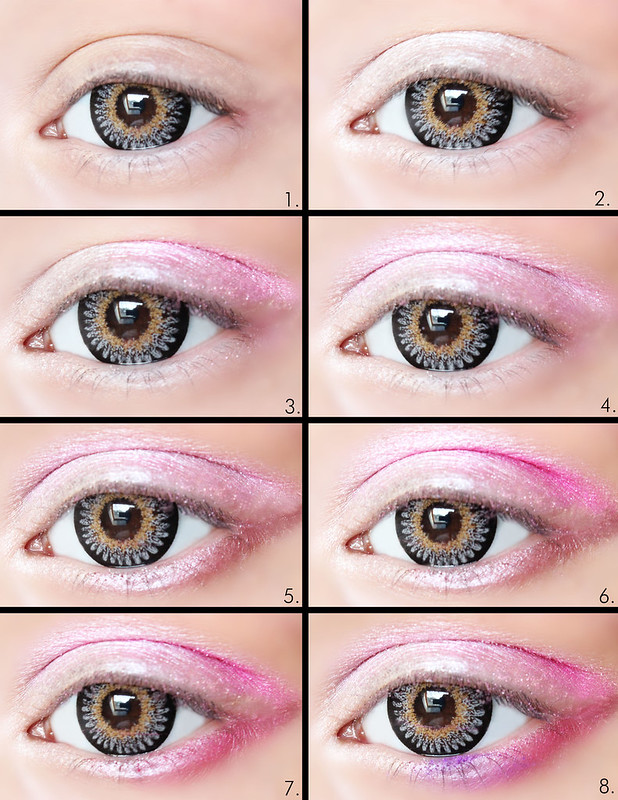
Step 1: Start off with a clean eye and apply some primer for long lasting
eye make-up.
Step 2: Apply some white eyeshadow in the corner of your eyes and blend it towards
the center of your eyelid.
Step 3: Than apply light pink eyeshadow to fill in the rest of your eyelid and blend it out a little.
Step 4: Apply the same light pink eyeshadow all over your crease.
Step 5: Apply the same light pink beneath your waterline.
Step 6: Apply dark pink eyeshadow in the corner of your crease (sorry for the bad explanation,
please see the picture)
Step 7: Apply the same dark pink beneath your waterline, in the corner for your eyes.
Step 8: Apply dark purple in the center of your eyes beneath your waterline.
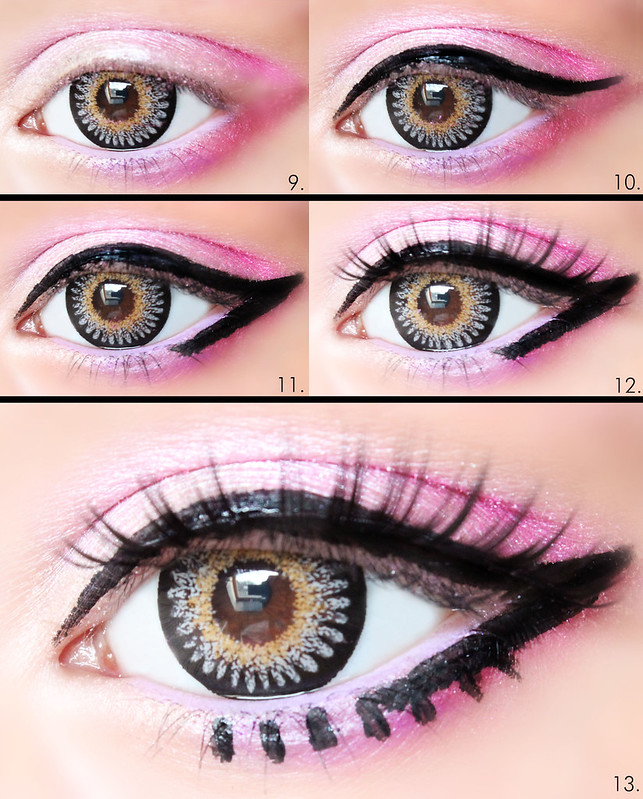
Step 9: Fill in your waterline with a white pencil eyeliner (optional)
Step 10: draw out a black line with liquid eyeliner, to give it more of a cat-eyed wing.
Step 11: draw a line halfway beneath your waterline with liquid liner and connect it with the
upper eyelid.
Step 12: apply false lashes.
Step 13: draw some small bottom lashes beneath your waterline and you're ready to go!
After that fill in your brows with light pink eyeshadow, so that it will match your wig ~
and apply some pink ligloss with a tad of purple eyeshadow on your bottom lip to
finish your whole look!


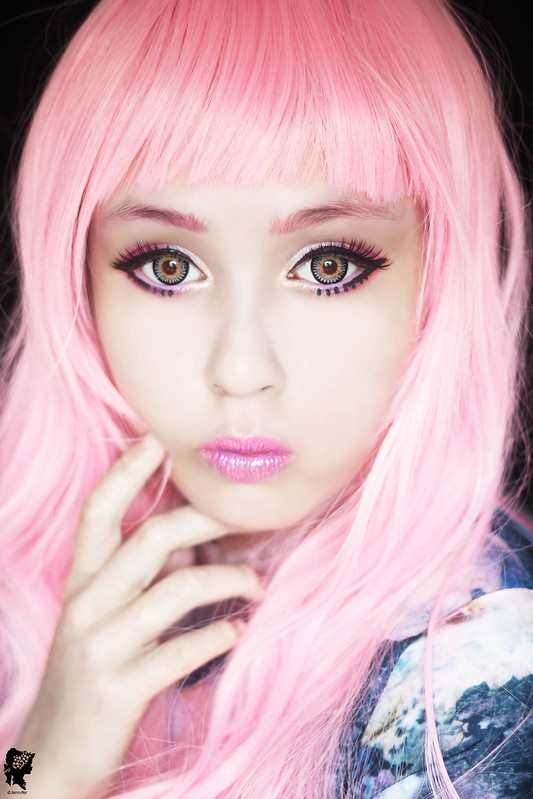
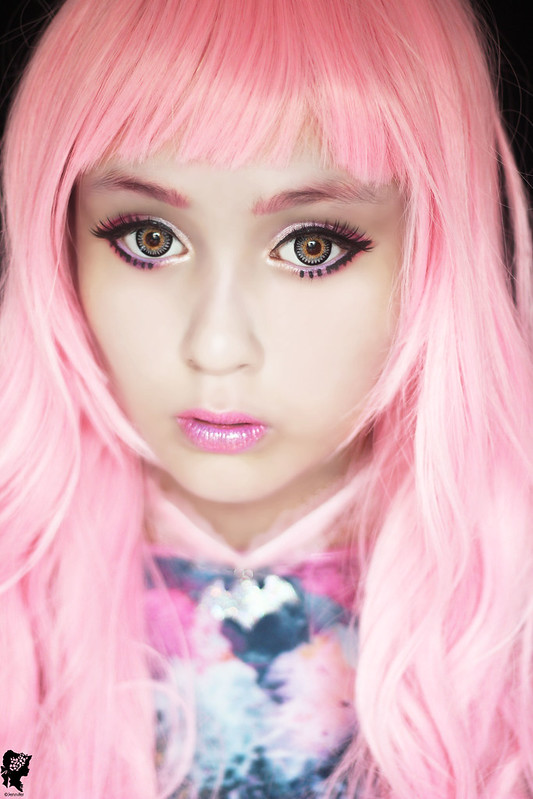
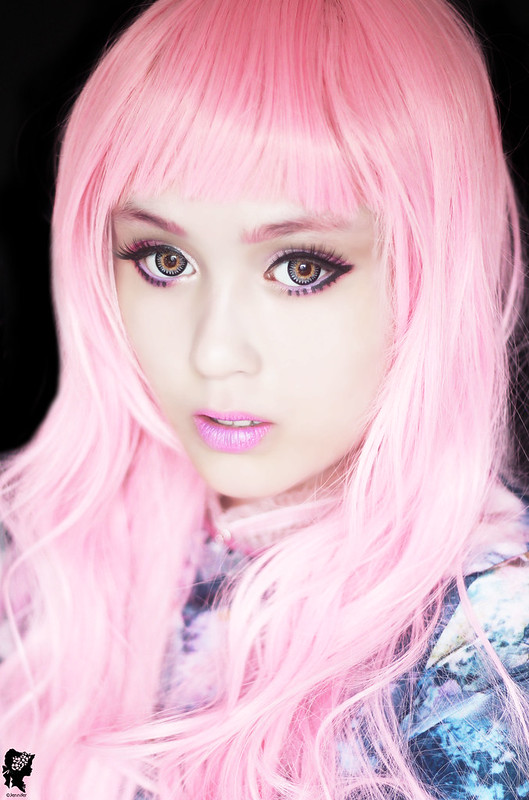
Well this was my Pink Barbie Doll tutorial + lens review ~
I hope you all liked it and let me know what you think of it
 ~
~ see you all next post ~
xoxo




Geen opmerkingen:
Een reactie posten